Introduction
Every good van fit-out starts with the same realisation. The load area is not one big space; it is five separate spaces that each do a different job.
Once you see the floor, walls, doors, roof and bulkhead as five zones, the layout starts designing itself. Choosing the right vehicle is equally important, as the working vans available in Doncaster vary considerably in size, access and usable load space.
This guide explores practical ways tradespeople across Doncaster and South Yorkshire can organise each area of a work van. .
In Short
This guide works through the van zone by zone, covering how to plan a layout before you commit, what belongs on the walls, in drawers, on the doors and on the roof, how bought and self-built systems compare, and how to load it all safely once it is fitted.
How to rack out a van: plan the layout before you buy anything
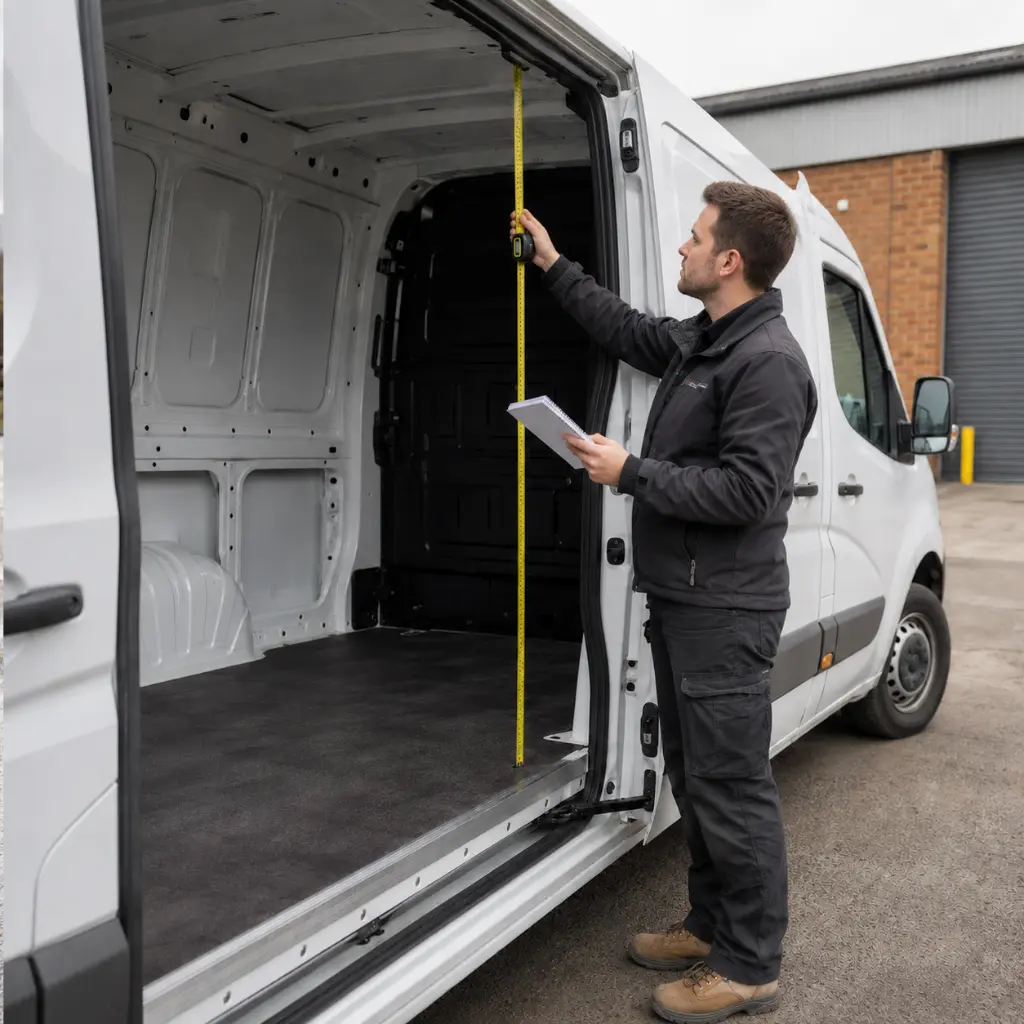
Spend an hour with a tape measure and a notepad before you spend anything at all. Measure the internal length, the width between the wheel arches and the height at the centre and sides.
Then list what you carry every day, what you carry weekly and what stays in the van for occasional jobs. That order becomes your layout. Daily items belong in the natural reach zone, roughly between knee and shoulder height at the side door. Weekly items go higher or deeper, while everything else can go towards the bulkhead.
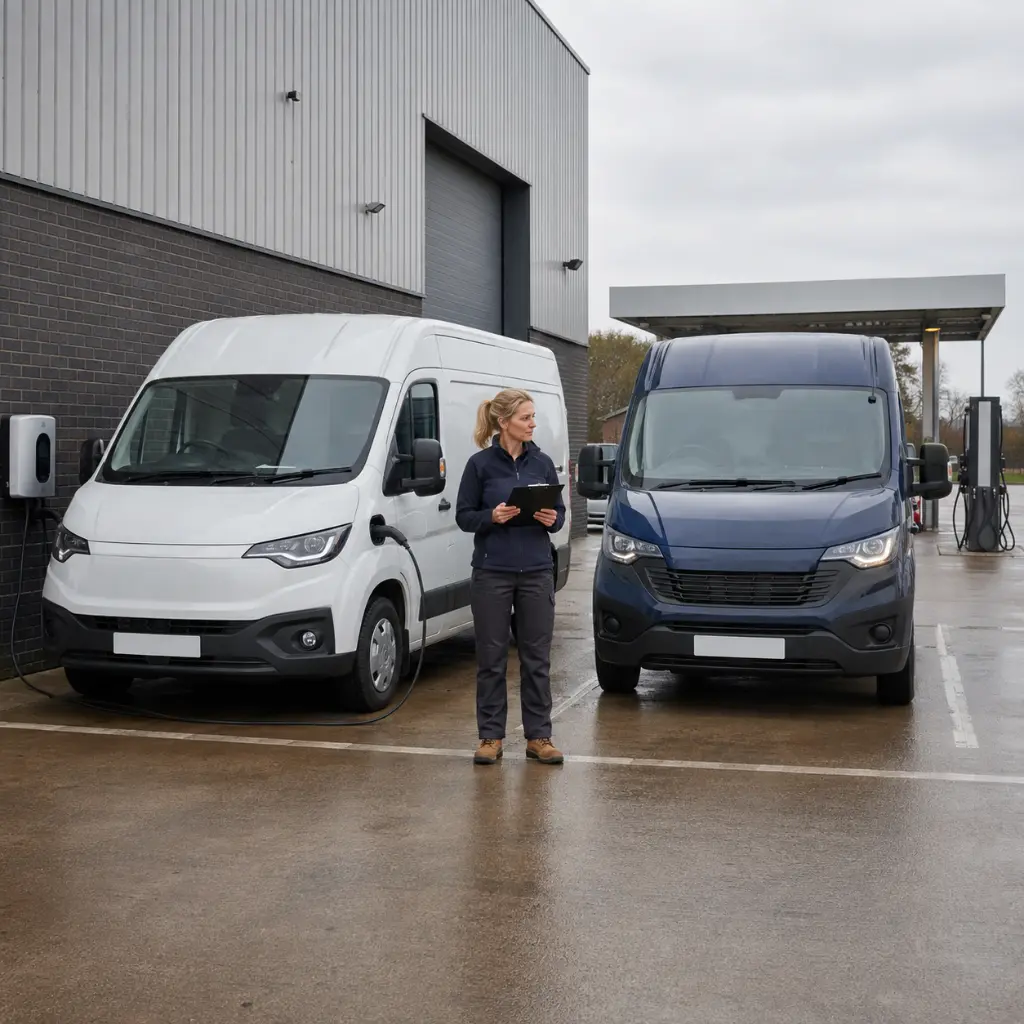
Vehicle choice also affects the fit-out, so compare an electric van with a diesel van based on load space, payload and typical journeys before settling on a model.
Van shelving ideas for the walls and bulkhead
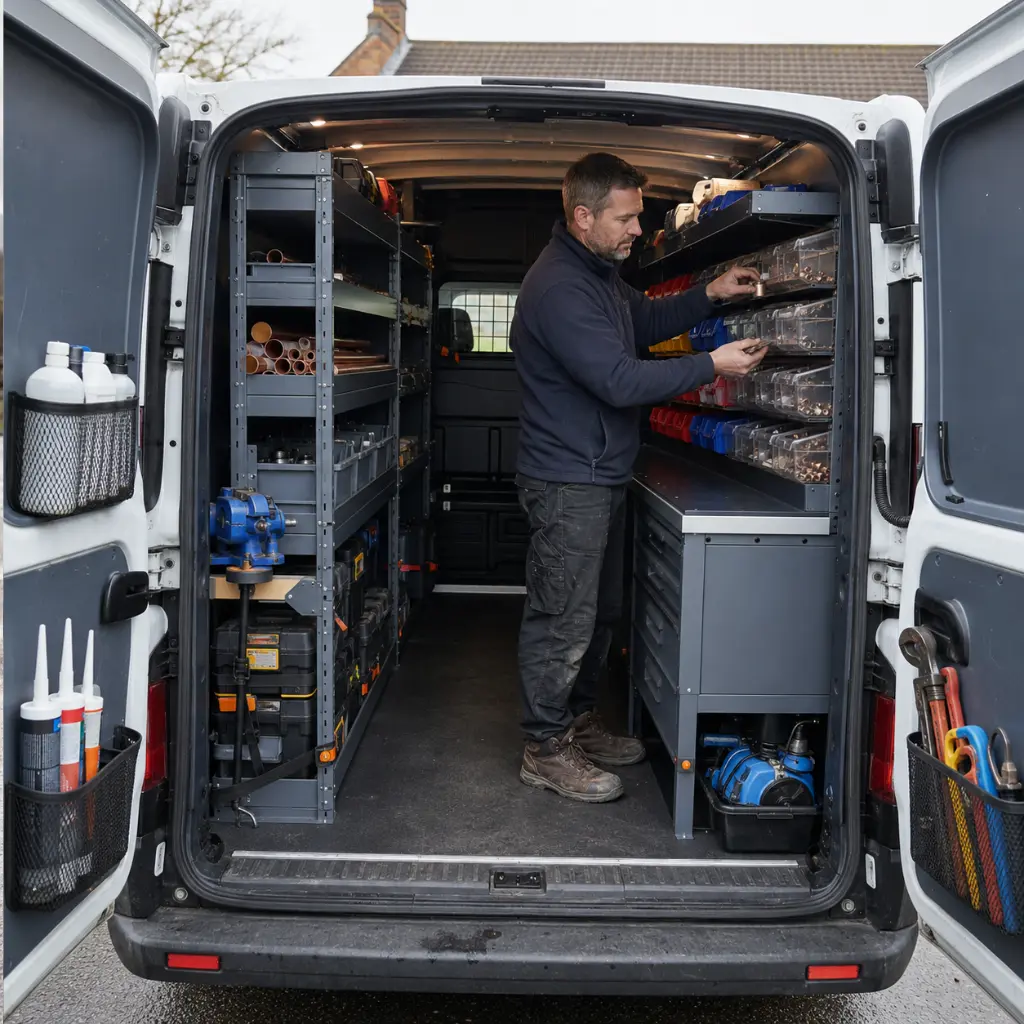
The side walls carry the visible, frequently used kit. Adjustable shelving is worth the small extra outlay, because your work changes and fixed shelf heights lock you into whatever you were doing when you fitted them.
A few approaches that consistently earn their space:
- Open shelving with lipped edges at the side door for consumables you grab constantly
- Stackable, clear-fronted bins for fixings and small parts, colour coded by size or type
- Deeper shelving towards the bulkhead for boxed stock and spares
- Secure, tool-specific holders with positive retention for the hand tools you use most frequently
- A slim upper shelf running the full length for long, light items such as conduit and trim
The bulkhead face is the piece most people leave empty. A shallow vertical panel on the load-area side of the bulkhead can hold document wallets, gloves, wipes and lightweight safety equipment within easy reach of the side door.
Drawers, false floors and the space beneath your feet
Below waist height, drawers beat shelves. A pull-out drawer brings the contents to you, whereas a low shelf means kneeling in the doorway to see the back of it.
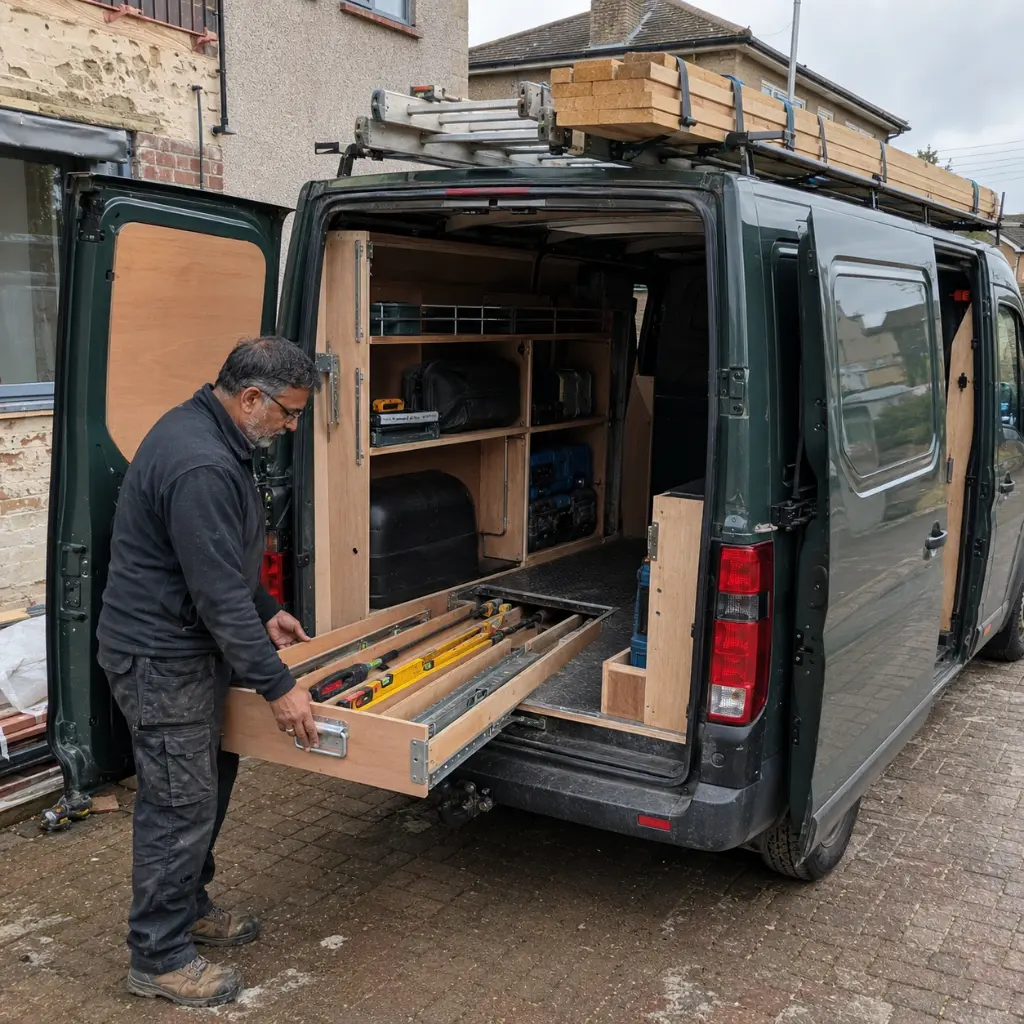
A false floor system raises the load deck slightly and creates full-length underfloor drawers beneath. That space is ideal for long, flat items such as levels, sheet material offcuts and spare lengths of pipe.
Lockable drawer units are the sensible home for power tools. Keeping them out of sight and secured also stops them travelling around the load space between jobs.
Adjustable dividers turn one large drawer into a set of tidy compartments, which keeps a socket set or a run of drill bits in order rather than pooled in a corner.
Using your van doors, roof and overhead space
The rear and side doors offer a surprising amount of usable surface. Mesh pockets, small clip-in trays and quick-release holders suit spray cans, sealant tubes and safety glasses, all reachable the moment the door opens.
Above the load, overhead pipe carriers and tube holders take long materials off the floor completely. That single change frees more usable area than almost anything else you can fit.
Always account for the combined weight of the roof rack and its load, stay within the manufacturer’s roof-load limit and use suitable loading equipment where required. Secure ladders and other long items with properly rated straps rather than relying on rope or elastic cords.
Should you build your own van racking or buy it ready-made?
Both routes work well, and the right one depends on how standard your requirements are.
Plywood racking built to your own measurements is straightforward with basic tools, gives a snug fit around wheel arches and is easy to modify later. It suits anyone with an unusual layout or a specific set of dimensions to work around.
Off-the-shelf aluminium or steel systems arrive designed for your exact model, tend to be lighter for the strength they offer, and go in quickly. Modular ranges let you add units as your kit grows.
Whichever system you choose, follow the vehicle and racking manufacturer’s installation instructions. Use approved mounting points and suitable fixings, and have the system professionally installed if you are unsure about the van’s structure, wiring or permissible mounting locations.
Best van racking ideas for tradespeople by trade
Tradespeople working across Doncaster and South Yorkshire may carry very different equipment, but the same five-zone approach can help keep a work van organised. The overall layout stays consistent, while the storage priorities change according to the trade.
Electricians get the most from small-parts organisation and cable management. A wall of clear bins for terminals, glands and fixings, plus dedicated cable reel or drum holders, covers most of a working day.
Plumbers and heating engineers benefit from separating clean and dirty zones, with fittings and copper stored well away from anything wet. Overhead carriers for pipe lengths are close to essential.
Carpenters and joiners need long-material capacity above all, so a roof rack and a full-length underfloor drawer usually matter more than wall shelving. If sheet material is a regular part of the job, the extra internal length of a long-wheelbase Boxer is worth looking at.
Painters and decorators do well with lipped shelving that keeps tins upright, spray can holders on the doors, and anti-slip matting underfoot.
Loading it safely once the racking is in
Racking adds weight, and that weight comes out of your payload, so factor the system’s own mass into what the van can legally carry.
Keep heavy items low, close to the vehicle’s centre line and, where appropriate, near the bulkhead. Spread the weight across the load floor and check that neither the vehicle’s gross weight nor either axle limit is exceeded.
Use anchor points with proper tie-down straps for anything not held in a fitted unit. Anti-slip matting can reduce movement, but it does not replace suitable boxes, fitted restraints or rated tie-down straps.
Before you drill anything, run through this
- Measured internal length, width between arches and height at the sides
- Listed daily, weekly and occasional items, in that order
- Reach zone reserved for the things you touch most often
- Weight of the racking checked against the van’s payload
- Suitable fixings and approved mounting points identified for the chosen vehicle and racking system
- Heavy items positioned low and forward
- A home decided for every single item, so nothing travels loose
Conclusion
Choosing the right van is the first step towards creating a practical workspace. If you are still deciding on the vehicle, our team can arrange a hire van from our South Yorkshire fleet, allowing you to test the size and body type during a typical working week.
Once you understand how much equipment and material you regularly carry, you will be better placed to choose a suitable van and plan its storage. Speak with our Doncaster team to explore vehicles with the load length, access and payload required for your work.